Create a true 5.1 surround mix in Magix Vegas Pro
The difference between 2.1 and 5.1
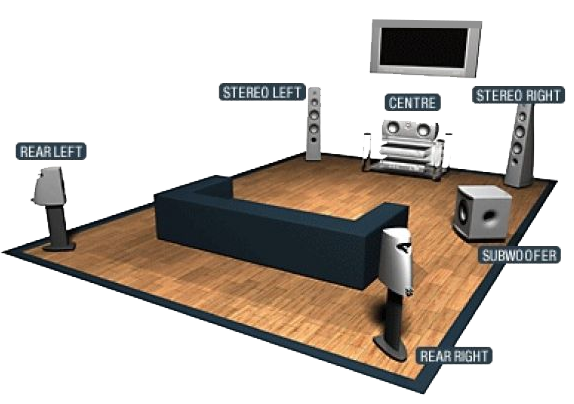
- 2 refers to two channels - Left and Right.
- 5 refers to five channels - Front and Rear Left, Front, and Rear Right and the Center.
- .1 is your sub-woofer, also known as LFE (Low-Frequency Emitter)
Tips to ensure accurate 5.1 mixing
- Use 5.1 speakers! Not stereo! (Duh!?)
- Ensure you set up your speaker set correctly. The Rear speakers should be behind you!
- Don't use headphones (Use them sparingly to feel the surround effect)
- Disable any audio enhancers!
- Take frequent breaks (Ear fatigue is common while editing for hours, which eventually results in everything sounding the same)
Genuine 5.1 vs. 'upmix'
Previously, I covered the steps required to upmix your stereo file to 5.1 in real-time using foobar2000, which essentially replicates the Stereo's Left and Right channels and adds an amount of reverb and widening before feeding it to the Rear Left and Rear Right channels. This technique is called "upmix."In today's write-up, I take you behind the scenes of my Ave Maria 5.1 surround mix with an analysis of how I arranged it in addition to some tips and tricks to make it easier for you to create your own professional 5.1 surround mix.
The software: Magix Vegas Pro
Till recently, I thought Magix Vegas Pro was primarily a video editing software. I searched for an affordable yet easy-to-use 5.1 mixing software but didn't find anything that offered what I needed. Interestingly, my search led me back to Magix Vegas Pro, which provided several options when dealing with 5.1 audio mixings and rendering. You will need Magix Vegas Pro (I've used version 16) and all your audio stems (individual instrument layers) for this tutorial. You will need the stems to create a genuine 5.1 mix, as it will give you more flexibility in sound panning and FX options.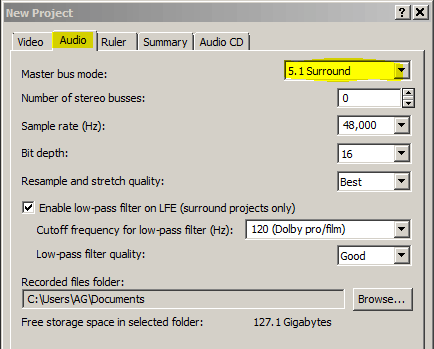
Create a New Project
- Create a new project file and choose 5.1 Surround under the Audio options.
- Keep the sample rate as 48,000 Hz and Bit depth to 16.
- I also change the 'Resample and stretch quality' to 'Best.'
Organize your stems
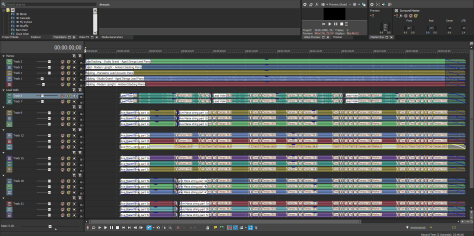
Drag and drop all of your stems into individual layers while organizing them in the best way possible. For example, in Ave Maria, I've got 5 Piano stems and 17 String arrangement stems.I organized the 5 Piano stems on top, followed by the 2 Violin and finally the 15 String section stems. Vegas also lets you group layers together to keep it organized and in-sync.
The panning options
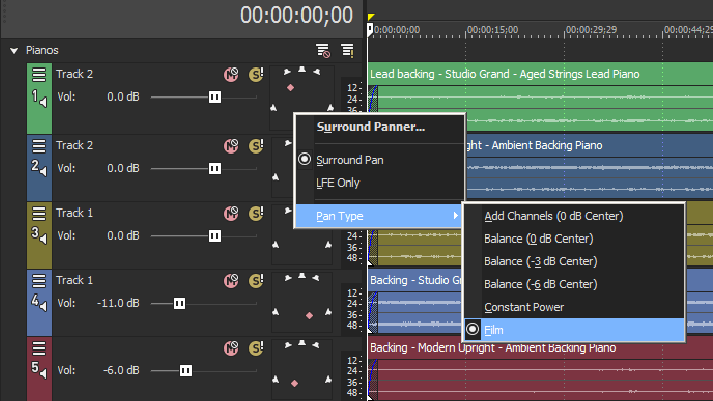
For each stem layer, you have options like Volume, Mute, and Solo. Right-click on the pan box to open the 'Surround Panner' window (located at the very end of the track options). The Surround Panner lets you set the location of the audio playback w.r.t. the 5.1 system. A small pink dot visually represents the positioning.The next two options let you choose between panning or routing that particular track directly to the LFE (Low-Frequency Emitter, a.k.a. subwoofer). Generally, you would assign a Bass track to LFE. I've used the "Film" type, but you can play around with the other options and select what sounds best to you.

The Surround Panner
The pink square tag represents my Piano track's pan setting, which I've placed at the exact middle of the Center speaker. The backing Piano tracks are set to the Left and Right at the front and the Rear for a completely immersive experience.Pan settings will vary based on the sounds used; however, avoid placing sounds to the extreme Rear as it sounds unnatural and unsettling to the human ears. That effect would work well for the Horror genre, though.
Render your final mix as 5.1 WAV
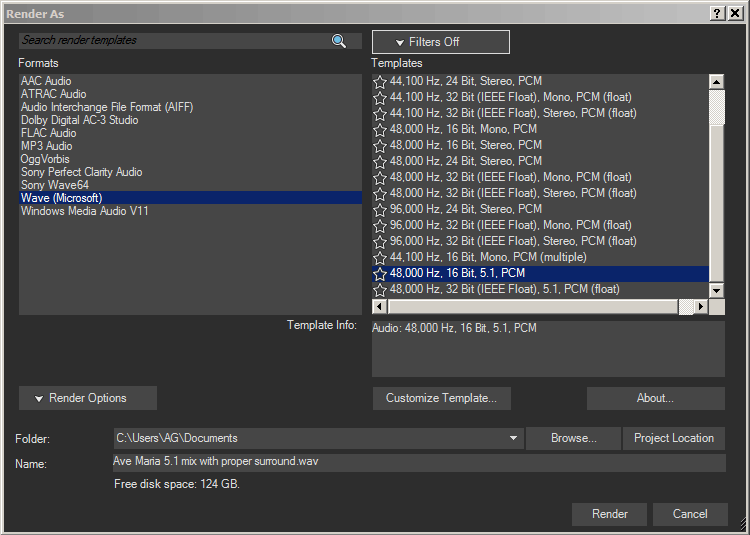
Once you're happy with the mix and panning selections on each layer and have set your volume levels with no layers on mute, go to File > Render As Under the Formats, select Wave (Microsoft) and under templates choose 48,000 Hz 16 Bit 5.1 PCM. This render can be sent for mastering purposes.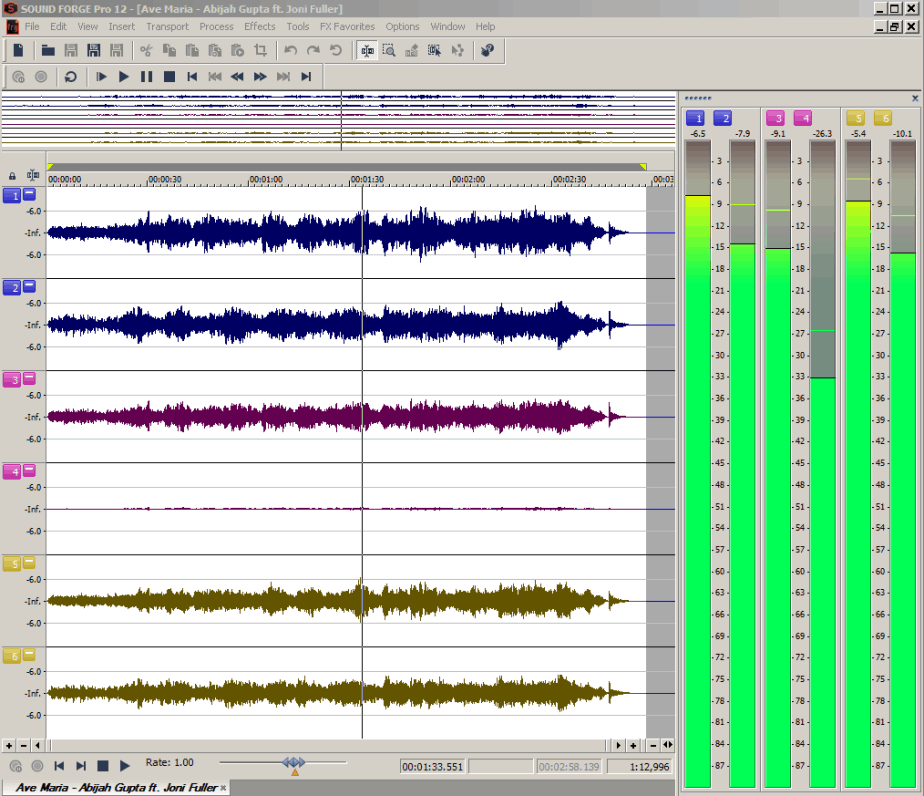
Mastering: Magix Sound Forge Pro
There's a plethora of software for mastering purposes. I'm comfortable with Magix Sound Forge Pro for all of my basic needs, and hence I used it for the final master as well.I've used a combination of iZotope Ozone plugins to amplify and master the final mix. Then, I saved the file as a 5.1 Wave file and a downmixed Stereo file (save it as an MP3 file) while retaining the 'surround ambiance.'
Key Takeaways
- I prefer deleting unused layers instead of muting them to keep my project file organized and clutter-free. If you think you'll revisit the edit later, save the current project file under a different name.
- 5.1 surround effect will vary based on the actual speaker configuration and manufacturer. If possible, try to test your render at an alternate 5.1 setup location.
- For a professional commercial release (Film etc.), maybe hire a studio to do your mix. Professional studios have proper sound treatment, calibration, and speaker configuration in addition to all that fancy gear.
Advertisement


